Blogging has and continues to be one of the easiest ways through which one can have their own audience independent of other platforms.
Think about it, if your favorite social media platform shut down today, would you still have a way of connecting with your audience? Through blogging, you get to collect your audience’s emails and keep in touch with them.
Other than email collection and marketing, blogging also allows you to connect with your audience on a personal level. If you’re a content creator, influencer or freelance writer, it is imperative that you have a blog.
If you’re new to blogging and you’re oblivious of how people set up their blogs, the right hosting company and where to get a domain name, this article will help you answer those questions.
How I started my blog with less than $10
I started this blog on the 1st of July 2020. This is not my first blog. I have 2 other blogs which I’ve built using the same methods. When I was building my first website, I watched a ton of youtube videos. While the videos were helpful, they were packed with too much information and I struggled with what you call information overload.
After writing down some of the key things that I knew I wanted my blog to have, I did further research. I narrowed down the key functions that I needed on my blog. From the aesthetics right down to the navigation.
After everything was decided on, I settled on Namecheap for both my hosting and domain purchase. Namecheap is an I-CAAN accredited domain registrar and hosting company which provides affordable domain names and hosting plans. I went with the shared hosting option which came with a domain name purchase in the same plan.
Namecheap has two shared hosting options. The monthly option and the yearly option. For this particular blog, I chose the monthly option since I was on a tight budget. The monthly hosting plan was going for $2.88 per month and the domain name was $8.88 for the first year. I got a 20% off discount which then brought the total cost to $10.
How to set up a WordPress blog using Namecheap
After paying for my domain name and hosting, I logged into my Namecheap account and went to my cpanel (control panel) under the ‘manage’ option in the products dashboard. I then navigated to the Softaculous Apps installer in my cpanel and downloaded/installed WordPress.
After installing WordPress, I clicked on the wp admin link and I was taken to my newly created WordPress blog. I deleted the default post and comment that comes with every WordPress blog and began customizing my site.
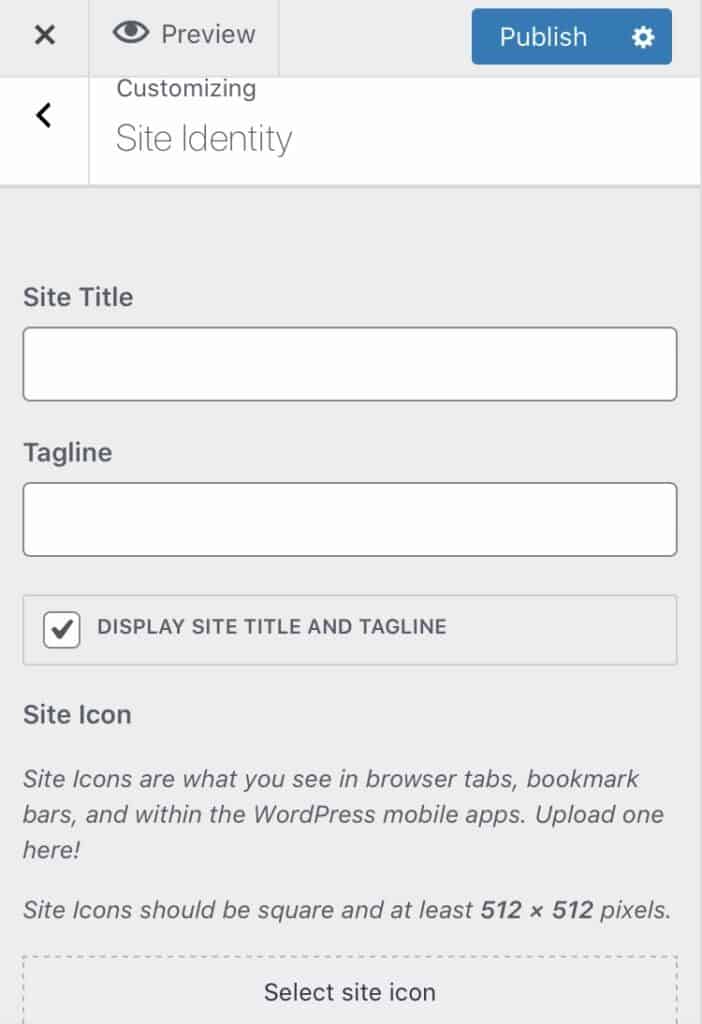
I went to the customize tab in my dashboard under appearance and started making tweaks in site identity. The site identity tab is where you write your site’s name and upload your site icon. The site icon is what people see in bookmarks and what your site’s visitors see in their browser tabs.

The next thing I did was create pages which I then edited under the menus tab still in the customizer. Depending on your theme, your menu can be displayed in up to 4 different areas. Under menus you can choose to display your main menu, your social media accounts or your privacy policy.
After my menus were sorted out, I navigated to the homepage settings which is where I set it to display recent posts. You can either choose to have a static page or display your recent blog posts to your visitors.
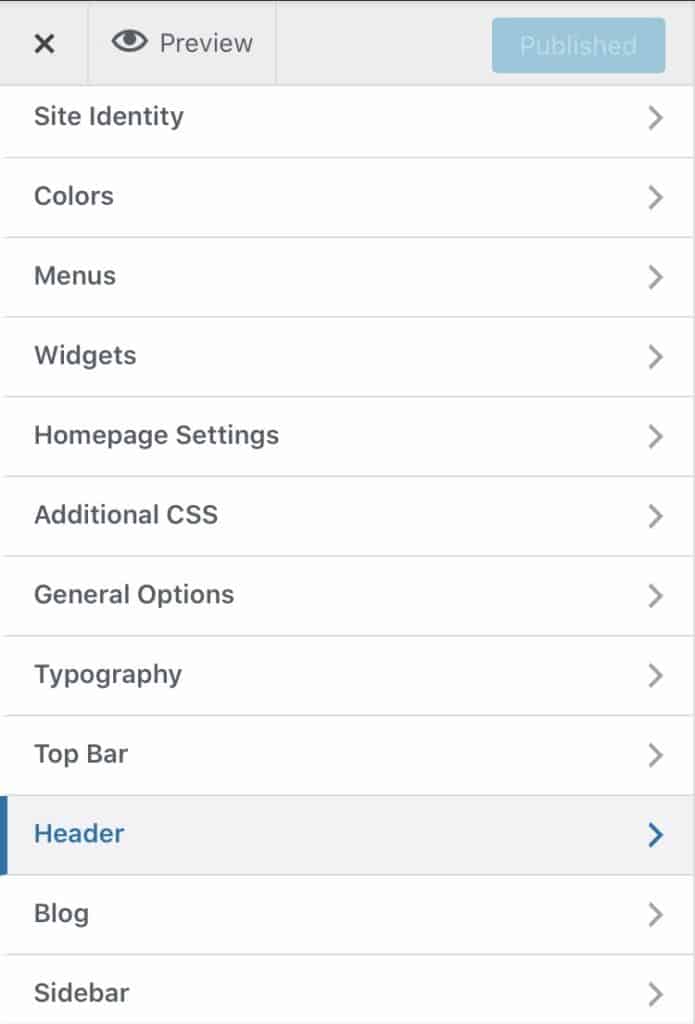
The widgets section is where I edited the items that I wanted to feature in my footers.
To avoid making this too long and repetitive, I’ll give you a brief run down of where you can make different tweaks.
The top bar is where you edit the content that’s viewed above your site’s header. Your header is what ‘houses’ your site title as well as the mobile menu. All these things may vary depending on your theme. For this website, I used the OceanWP theme.
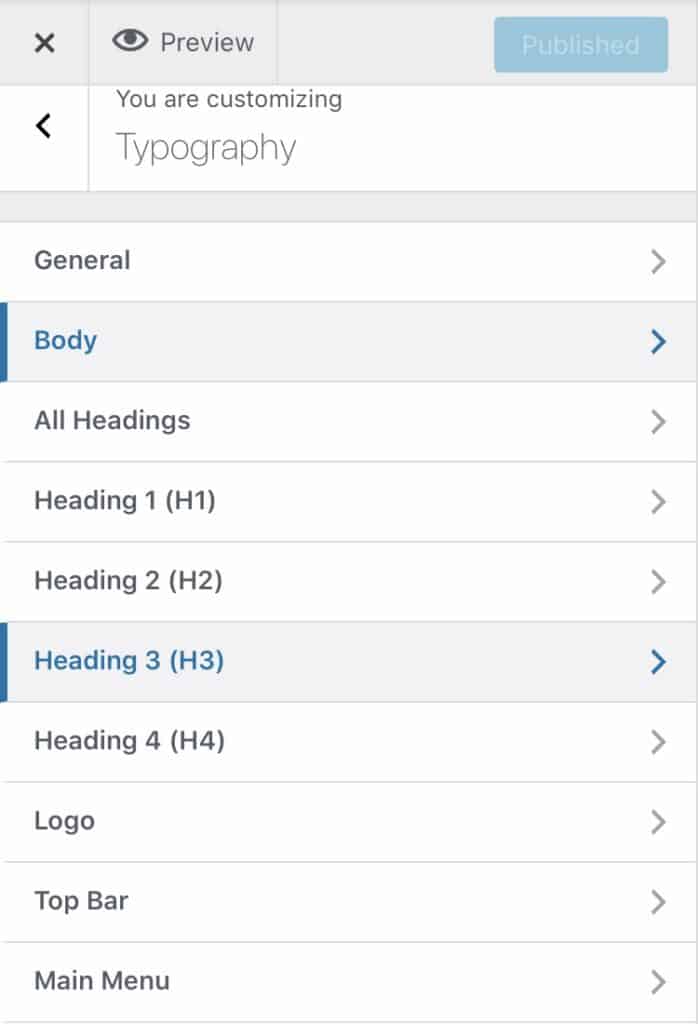
From the font used in the text viewed on your blog to your logo’s font and the different colors used on your blog, all these things can be edited under typography in your customizer.
You can refer to detailed step by step videos on YouTube depending on the theme you’ll pick to find out more about where everything goes.
In about 3 hours, I was done with building my WordPress blog and I was ready to launch.
I ensured that I had a privacy and disclosure policy, a sign up form and my site was mobile friendly.
While this is just a small part of what it takes to set up and run a successful blog, starting a blog from scratch is not hard and can be done with only $10.
Have any other questions about starting a blog? Leave them down in the comment section below.

Hey S,
I have been searching for a simpler, pocket-friendly way to build a website and this is definitely an eye-opener. I will be quizzing you for more clarifications as I am a newbie in freelancing writing
Pingback: How to Move to Self Hosted WordPress from WordPress.Com